WordPress Source Plugin Tutorial
How to create a site with data pulled from WordPress
Warning:The version of gatsby-source-wordpress that this tutorial uses will soon be deprecated and replaced with a complete rewrite in the next major version (v4). The reason for this is that we’ve adopted the use of WPGraphQL to support Preview and incremental builds as well as to make the schema generally more stable and consistent.
Please follow the tutorial on creating a new site with gatsby-source-wordpress-experimental instead, as that package is a beta of the next major version of gatsby-source-wordpress.
What this tutorial covers:
In this tutorial, you will install the gatsby-source-wordpress plugin in order to pull blog and image data from a WordPress install into your Gatsby site and render that data. This Gatsby + WordPress demo site shows you the source code for an example site similar to what you’re going to be building in this tutorial, although it’s missing the cool images you’ll be adding in the next part of this tutorial, Adding Images to a WordPress Site. :D
But do you prefer GraphQL?
If you prefer using GraphQL, there’s a wp-graphql plugin to easily expose both default and custom data in WordPress.
The same authentication schemes supported by the WP-API are supported in wp-graphql, which can be used with the gatsby-source-graphql plugin.
Why go through this tutorial?
While each source plugin may operate differently from others, it’s worth going through this tutorial because you will almost definitely be using a source plugin in most Gatsby sites you build. This tutorial will walk you through the basics of connecting your Gatsby site to a CMS, pulling in data, and using React to render that data in beautiful ways on your site.
If you’d like to look at the growing number of source plugins available to you, search for “source” in the Gatsby plugin library.
Creating a site with the gatsby-source-wordpress plugin
Create a new Gatsby project and change directories into the new project you just created:
Install the gatsby-source-wordpress plugin. For extra reading on the plugin’s features and examples of GraphQL queries not included in this tutorial, see the gatsby-source-wordpress plugin’s README file.
Add the gatsby-source-wordpress plugin to gatsby-config.js using the following code, which you can also find in the demo site’s source code.
Creating GraphQL queries that pull data from WordPress
Now you are ready to create a GraphQL query to pull in some data from the WordPress site. You will create a query that pulls in the title of the blog posts, date they were posted, and blogpost content.
Run:
In your browser, open http://localhost:8000 to see your site, and open http://localhost:8000/___graphql so that you can create your GraphQL queries.
As an exercise, try re-creating the following queries in your GraphiQL explorer. This first query will pull in the blogpost content from WordPress:
This next query will pull in a sorted list of the blog posts:
Rendering the blog posts to index.js
Now that you’ve created GraphQL queries that pull in the data you want, you’ll use that second query to create a list of sorted blogpost titles on your site’s homepage. Here’s what your home page component in src/pages/index.js should look like:
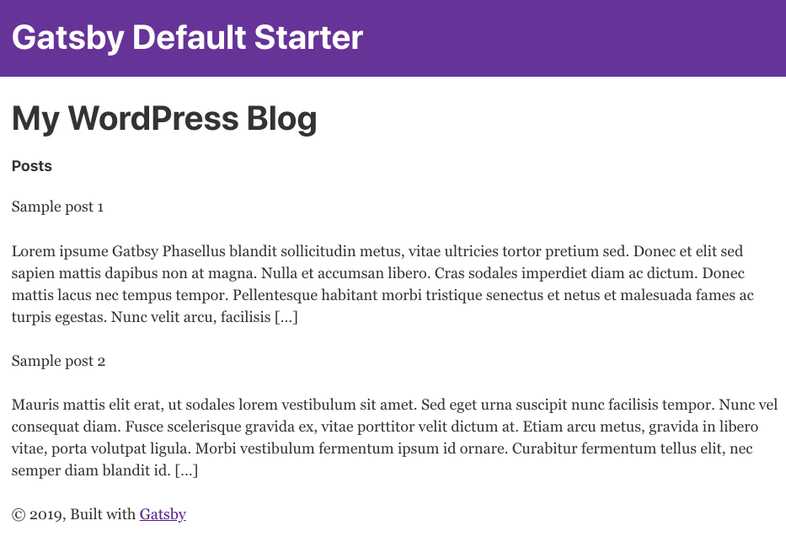
Save these changes and look at http://localhost:8000 to see your new homepage with a list of sorted blog posts!
NOTE: to future editors: it would be useful to also have examples of how to load blog posts to their own individual pages. And helpful to insert a screenshot of the final result here
Create pages for each blog post and link to them
An index page with a post title and excerpt is great, but you should also build pages out for each of the blog posts, and link to them from your index.js file.
To do this, you need to:
- Create pages for each blog post
- Link up the title on the index page with the post page.
If you haven’t already, please read through Part 7 of the foundational tutorial, as it goes through the concept and examples of this process with Markdown instead of WordPress.
Creating pages for each blog post
In Part 7 of the tutorial, the first step in creating pages is creating slugs for the markdown files. Since you are using WordPress and not Markdown files, you can grab the slugs that get returned from your API call to the WordPress source. You can skip creating slugs, since you already have them.
Open up your gatsby-node.js file in the root of your project (it should be blank except for some comments) and add the following:
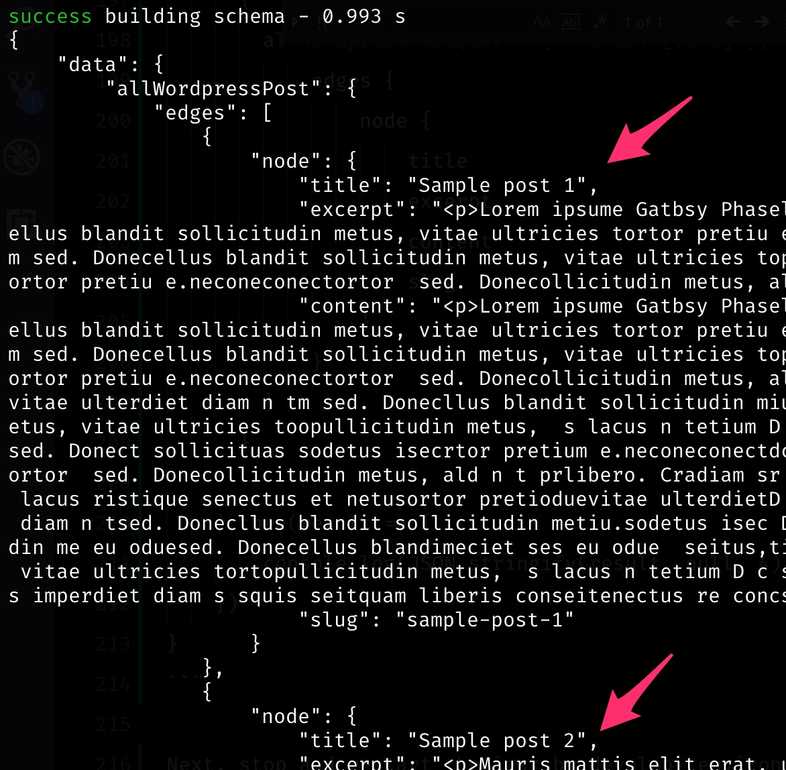
Next, stop and restart the gatsby develop environment. As you watch the terminal you should see two Post objects log to the terminal:
Excellent! As explained in Part 7 of the tutorial, this createPages export is one of the Gatsby “workhorses” and allows us to create your blog posts (or pages, or custom post types, etc.) from your WordPress install.
Before you can create the blog posts, however, you need to specify a template to build the pages.
In your src directory, create a directory called templates and in the newly created templates folder, create a filed named blog-post.js. In that new file, paste the following:
What is this file doing? After importing your dependencies, it constructs the layout of the post with JSX. It wraps everything in the Layout component, so the style is the same throughout the site. Then, it adds the post title and the post content. You can add anything you want and can query for here (e.g. feature image, post meta, custom fields, etc.).
Below that, you can see the GraphQL query calling the specific post based on the $slug. This variable is passed to the blog-post.js template when the page is created in gatsby-node.js. To accomplish this, add the following code to the gatsby-node.js file:
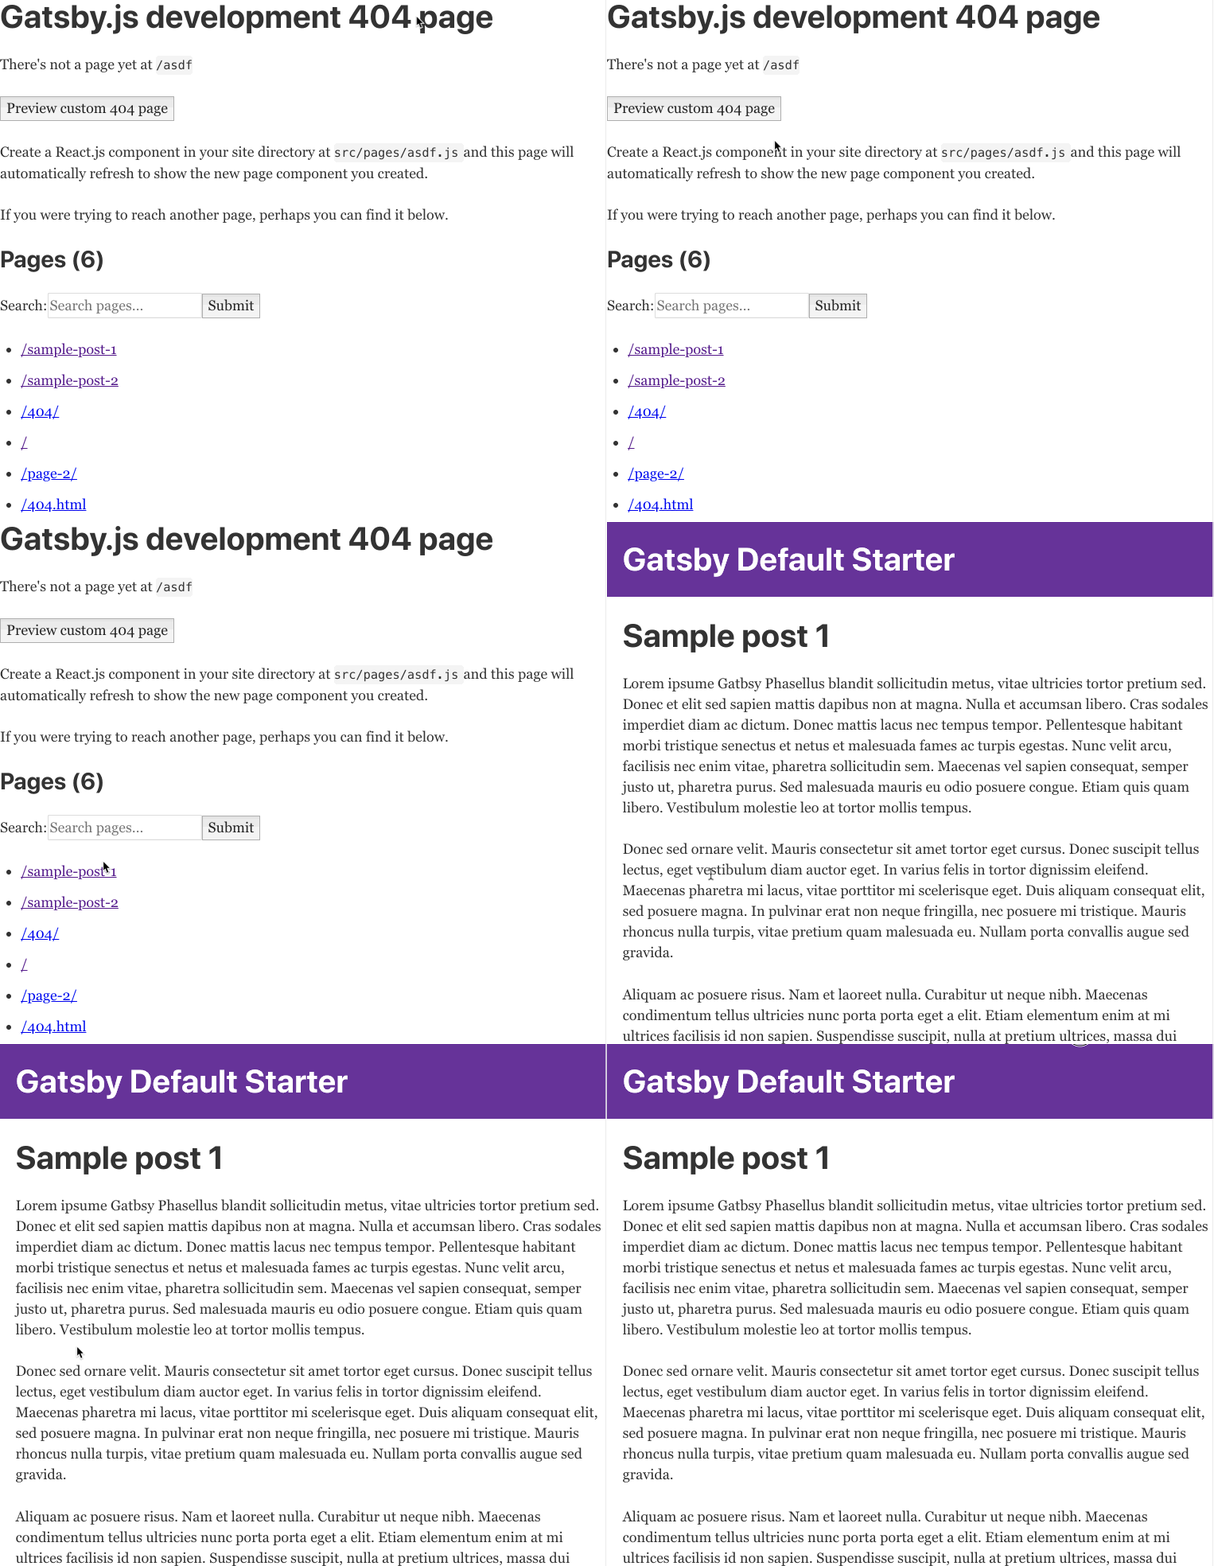
You will need to stop and start your environment again using gatsby develop. When you do, you will not see a change on the index page of the site, but if you navigate to a 404 page, like http://localhost:8000/asdf, you should see the two sample posts created and be able to click on them to go to the sample posts:

But nobody likes to go to a 404 page to find a blog post! So, let’s link these up from the home page.
Linking to posts from the homepage
Since you already have your structure and query done for the index.js page, all you need to do is use the Link component to wrap your titles and you should be good to go.
Open up src/pages/index.js again and add the following:
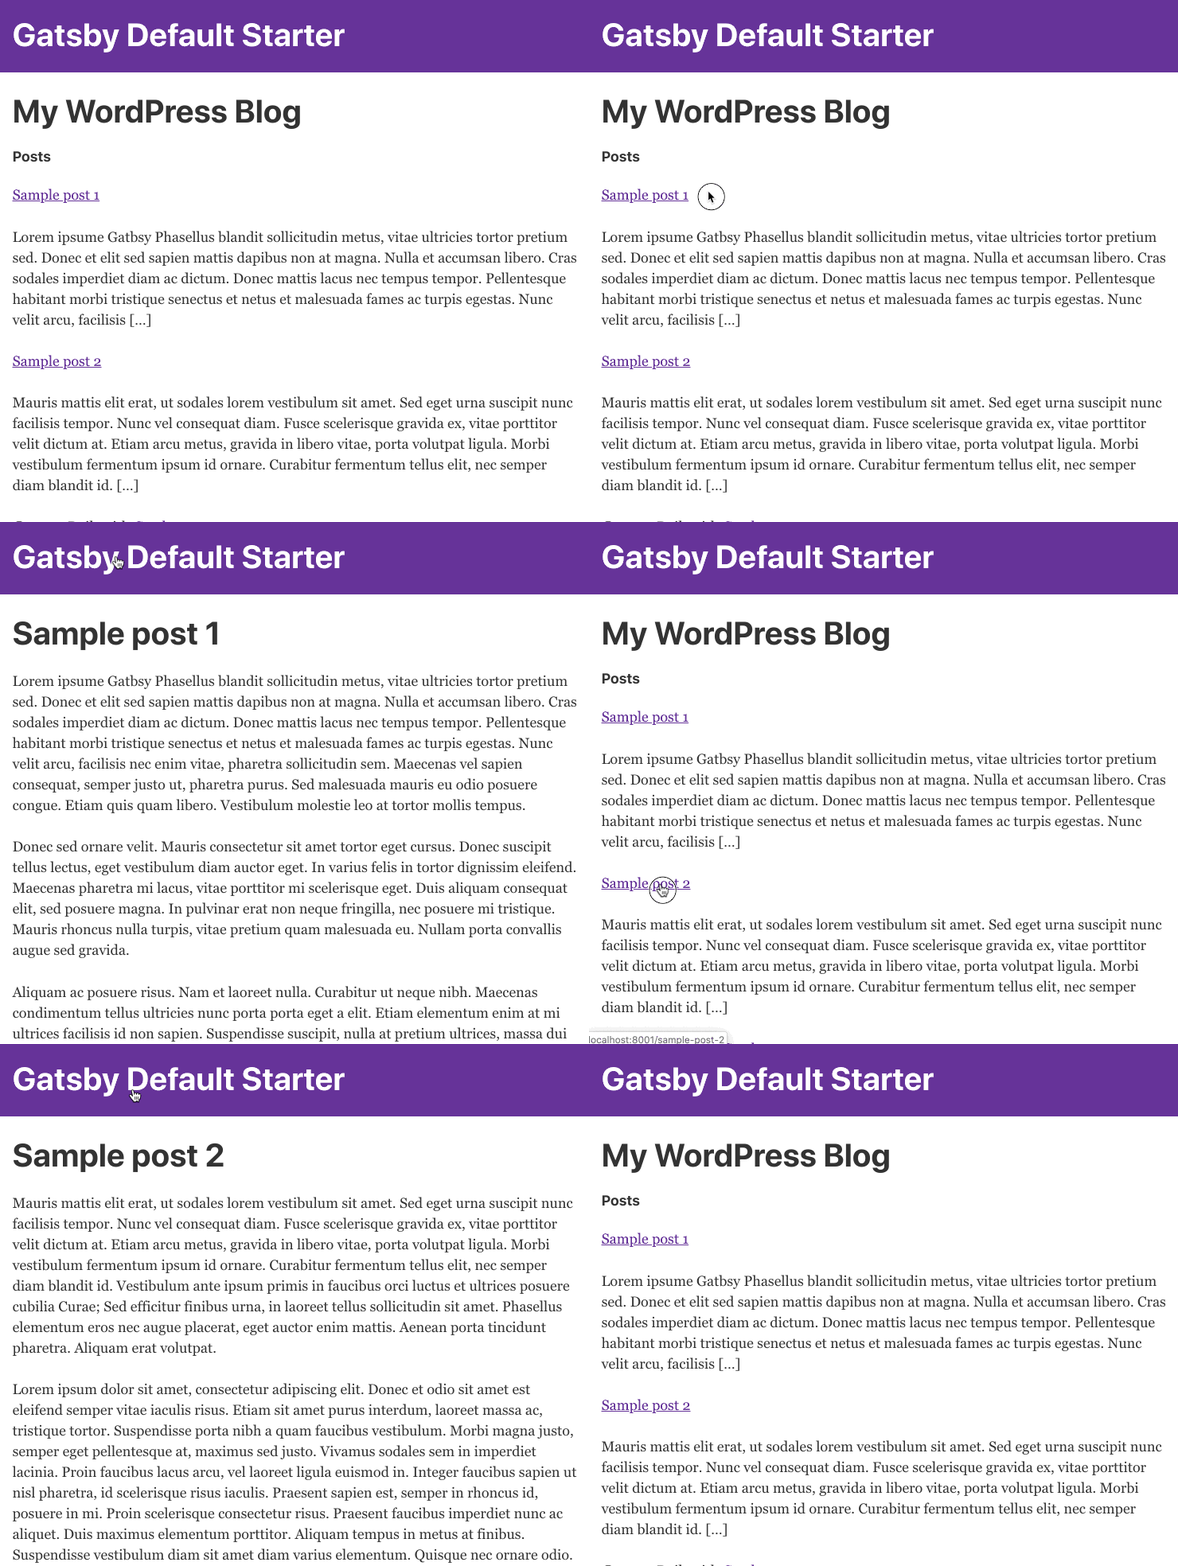
And that’s it! When you wrap the title in the Link component and reference the slug of the post, Gatsby will add some magic to the link, preload it, and make the transition between pages incredibly fast:

Wrapping up
You can apply the same procedure to calling and creating pages, custom post types, custom fields, taxonomies, and all the fun and flexible content WordPress is known for. This can be as simple or as complex as you would like it to be, so explore and have fun with it!

